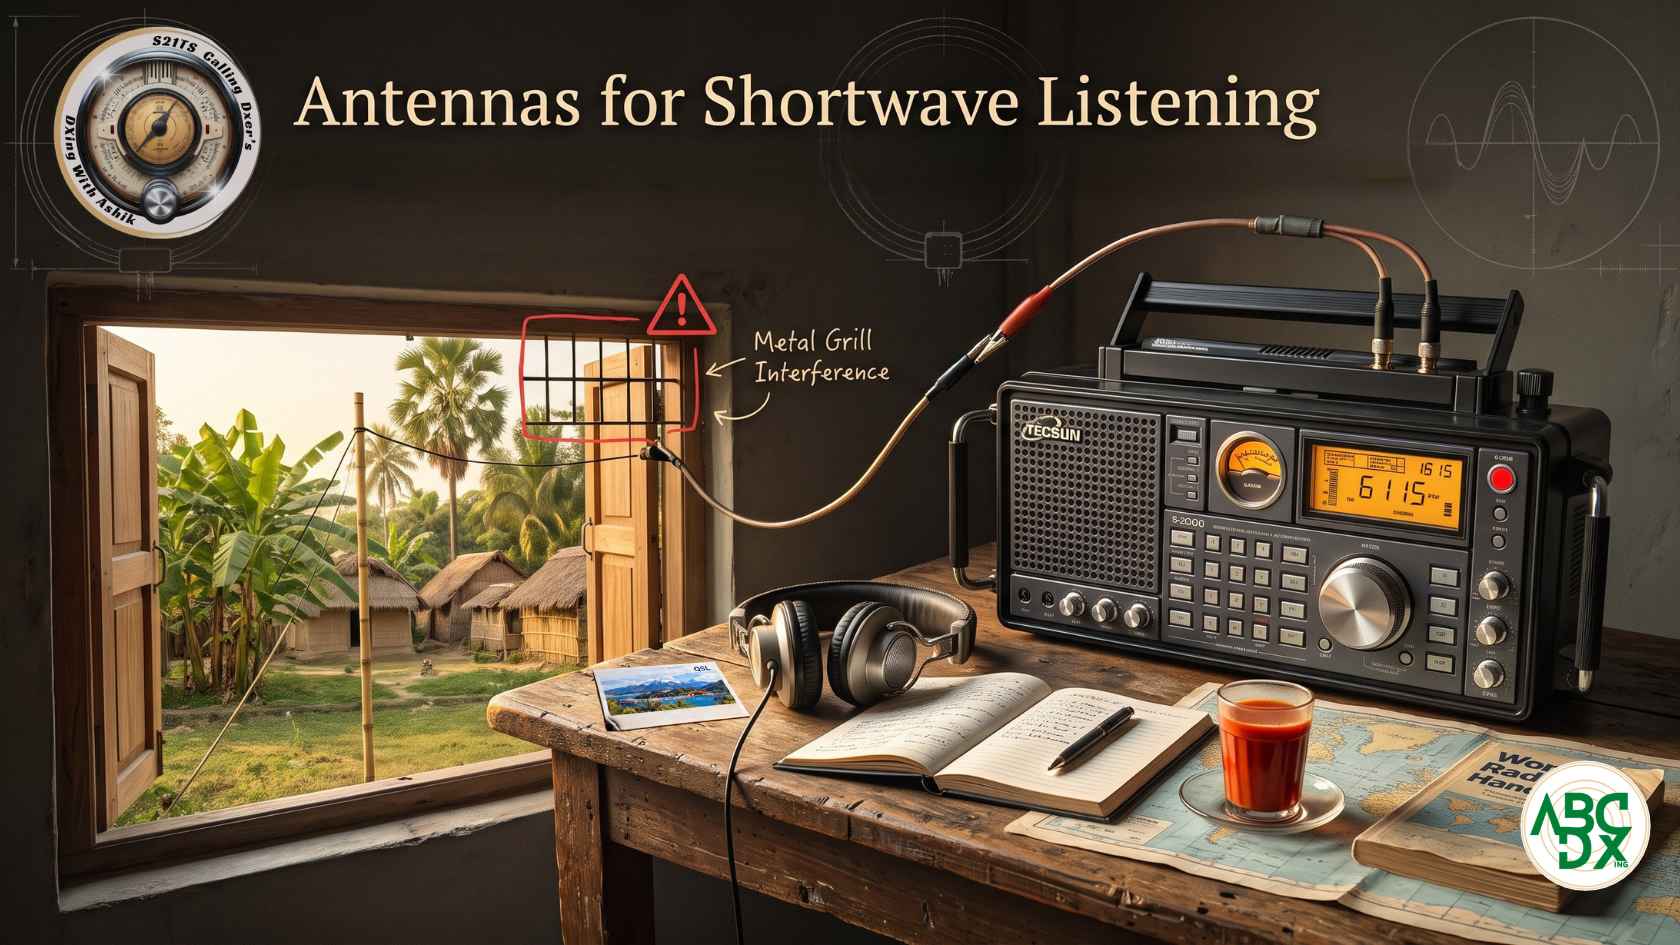

ABC DXing Antenna Guide Series | Indoor SW Antenna - Practical wire, window and loop antennas for apartment and urban listeners
What is Indoor shortwave antenna and how to choose, build and install them
Quick summary: Indoor Shortwave Antenna
- Indoor listening is limited by walls, noise and short wire lengths. Smart placement can overcome much of this.
- A simple wire along a window or ceiling often beats the telescopic whip.
- Interference control matters more indoors than in any other setting.
- Run the radio on batteries when you can. It removes a major source of noise.
Never connect any antenna to mains wiring or sockets.
Introduction: The shortwave indoor antenna challenge
Not every listener can put a wire outside. Many live in apartments. Some rent homes, where fixing a mast is not allowed. Others live in busy cities, where safe outdoor space does not exist.
Indoor listening has three main problems. Building materials weaken the signal. Household devices create noise. The space for a wire is small.
This article accepts these limits. It shows how to get the best result inside a room. If you have even a small outdoor space, Outdoor Receiving Antennas for Shortwave Listening describes better options.
Basic principles in brief
Three ideas from Article 1 matter most here.
- Signal to noise ratio decides what you can hear. Indoors, noise is usually the larger problem.
- A longer wire collects more signal, but it also collects more noise in a room.
- The antenna must be placed away from noise sources. Distance is your cheapest filter.
What makes indoor reception difficult
- Building materials. Reinforced concrete contains steel bars. These shield radio waves. Metal window grills and metal-coated glass do the same.
- Household noise. LED lamps, phone chargers, laptops, routers, televisions and fans all create electrical noise. A UPS or IPS inverter can also add noise.
- Mains wiring. Wires in the walls carry noise. They can also re-radiate it into your antenna.
- Short length. A room limits the wire to a few meters.
- Nearby people and objects. Your body and furniture can detune and absorb signals.
The solution is not one clever antenna. It is careful placement and noise control.
The designs at a glance
| Design | Best for | Main strength | Main weakness |
| Simple indoor wire | Any room | Easy and cheap | Picks up room noise |
| Window antenna | Rooms with a good window | Placed near the outside signal | Metal grills or coated glass reduce the signal |
| Room perimeter wire | Larger rooms | Extra length | Runs near wiring. Noise can increase. |
| Small indoor loop | Noisy locations | Directional nulls and noise rejection | Needs tuning. Lower signal level. |
Indoor Shortwave Antenna : Materials and components
For wire antennas
- Thin insulated wire, 0.5 to 1 mm, in a quantity of 5 to 15 metres.
- Small insulated hooks, plastic clips or adhesive cable clips.
- Cotton thread or nylon cord for hanging.
- Masking tape or removable tape for window frames.
- Alligator clips and a short lead with a 3.5 mm plug, if your radio has an antenna jack.
- A small piece of wood or plastic to act as a standoff from walls.
For coax-fed receivers
- A 50-ohm coaxial cable of suitable length.
- A matching connector for your receiver.
- A 9:1 or 4:1 unun, if you feed a long wire into coax. Article 4 explains these.
- A clip-on ferrite choke for the coax.
And for a small indoor loop antenna
- Copper wire or thin copper tubing for the loop.
- A wooden or plastic frame to hold the shape.
- A tuning capacitor, matched to the loop and band.
- A smaller coupling loop of wire.
Component values for loops depend on the design. We will publish a value only after checking it against a reliable source.
Design 1: The simple indoor wire shortwave antenna
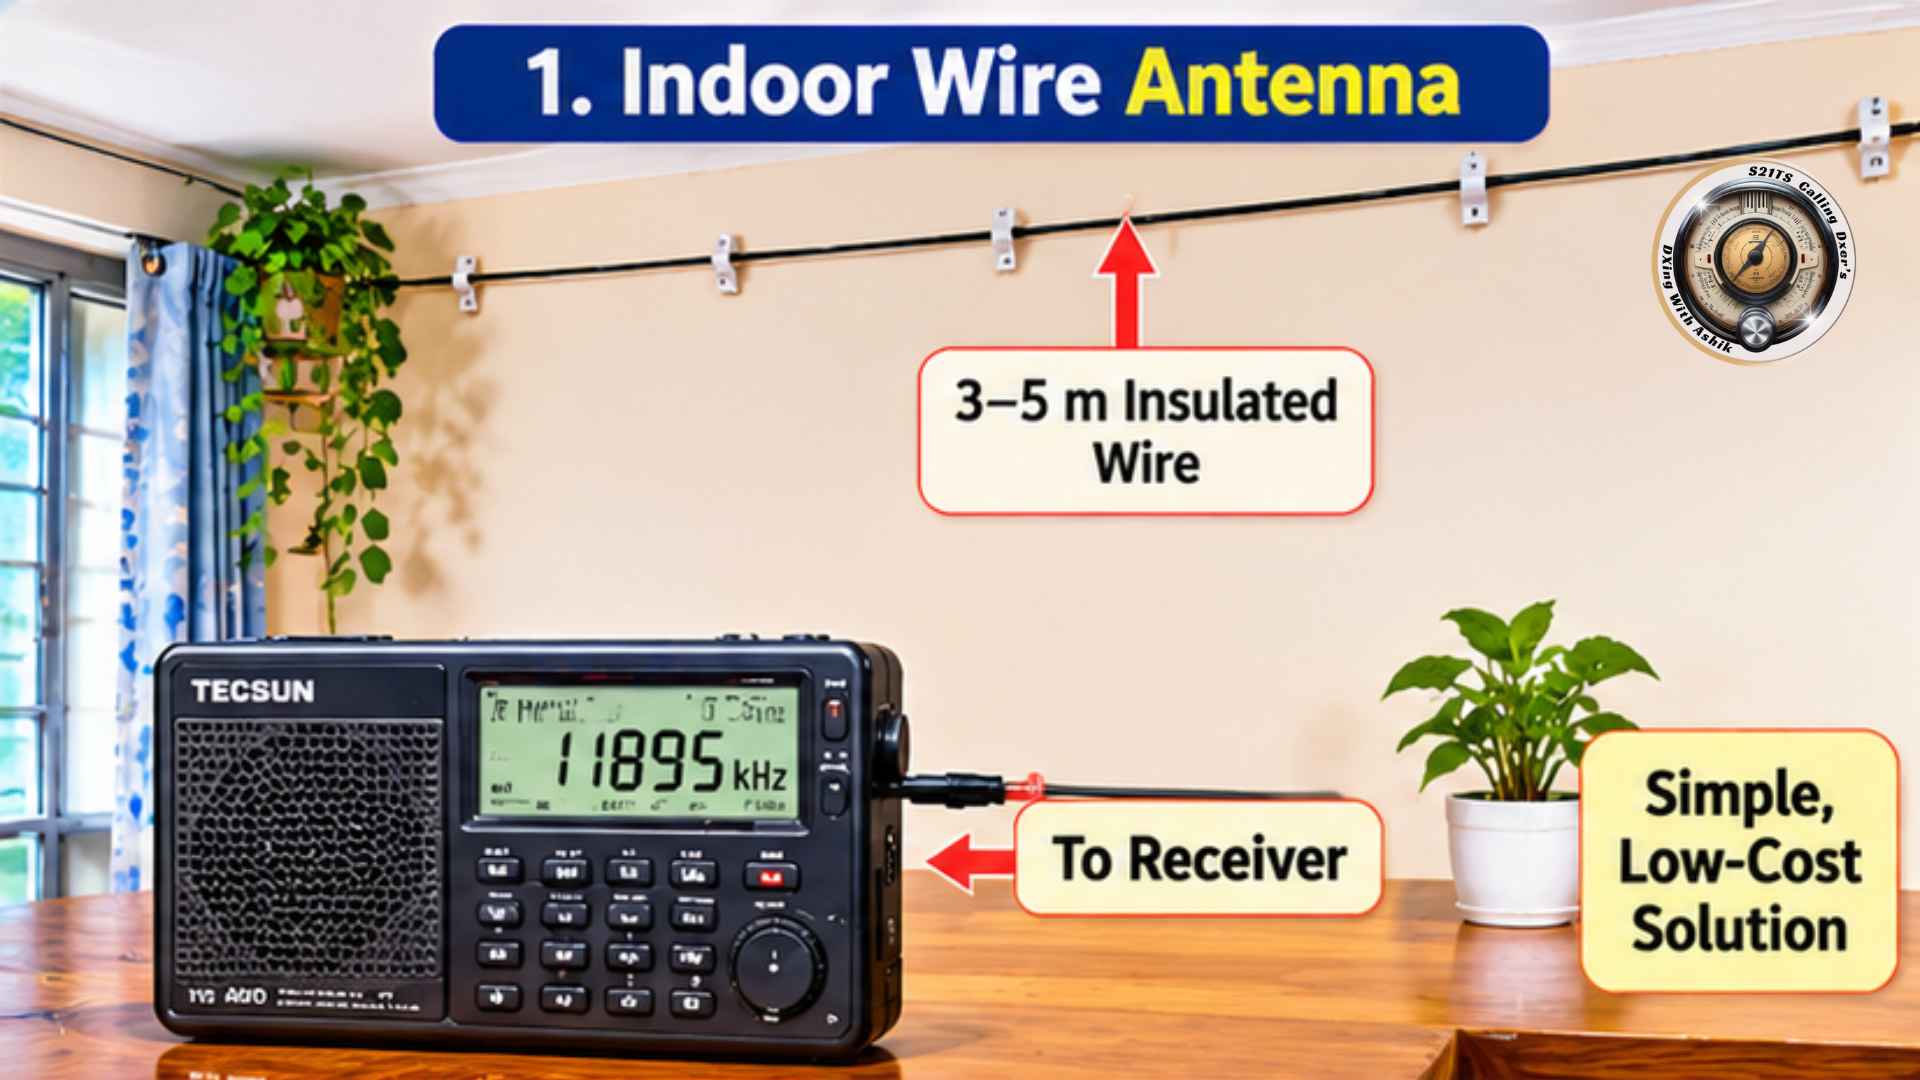
What it is. A single wire placed along a wall, window or ceiling, and connected to the receiver.
Length. Five to ten meters is a practical range. Longer is useful if space allows. Do not coil the wire tightly. A coil picks up noise and gives little signal.
Step by step
- Choose a wall or ceiling edge as far as possible from mains cables and noisy devices.
- Fix small clips or hooks at intervals. Keep the wire at least a few centimeters from the wall.
- Attach the wire to the first clip. Run it in a long, gentle line.
- Do not run the wire parallel to mains cables. Cross them at right angles if you must.
- Connect the near end to the receiver. Use a short lead.
Leave the far end free. Cover it with tape for safety.
Design 2: The window antenna
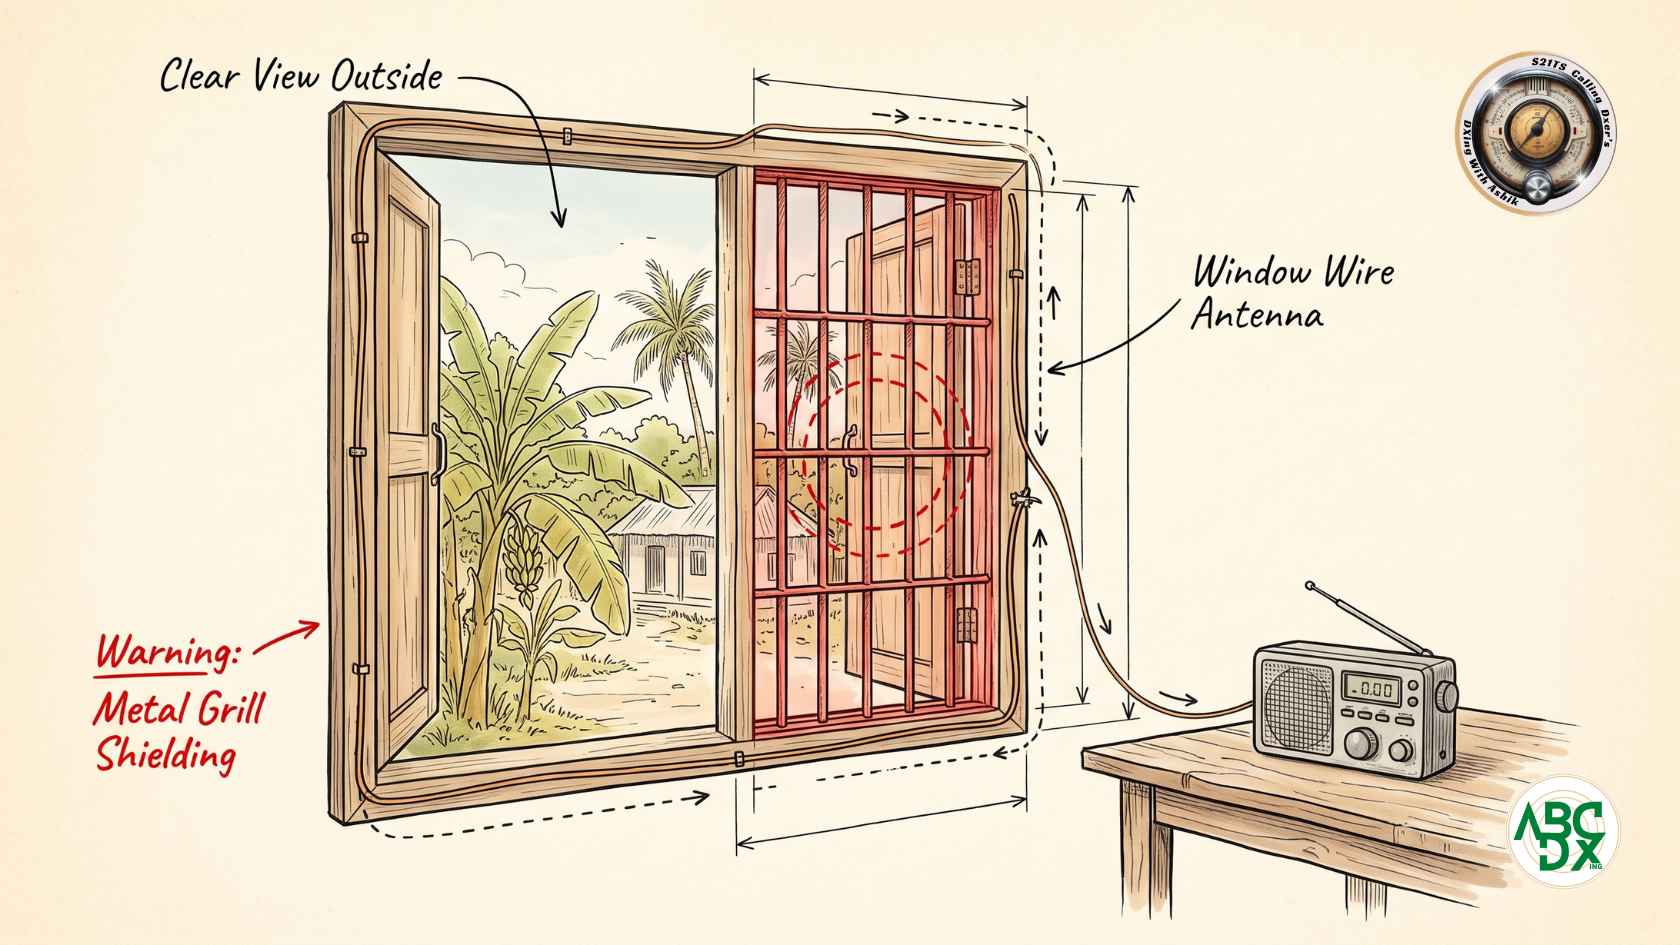
What it is. A wire placed on or near a window frame, ideally on a window that faces open space.
Why use it. A window is the thinnest barrier between you and the outside signal. Glass passes radio waves much better than a concrete wall.
Cautions. Metal grills, wire mesh and metal coated glass can reduce the signal sharply. Test several windows. Choose the one with the least metal.
Step by step
- Choose a window with a clear view, and with as little metal as possible.
- Tape the wire to the inside of the frame. Run it along the top and down a side, if length allows.
- Keep the wire away from curtain rails and metal blinds.
- Connect it to the receiver by a short, tidy lead.
- Test the wire at different heights on the same window.
If you can take the wire outside the window, see Outdoor Receiving Antennas for Shortwave Listening. A wire hung even a few metres outside can perform much better.
Design 3: The room perimeter wire - indoor loop antenna
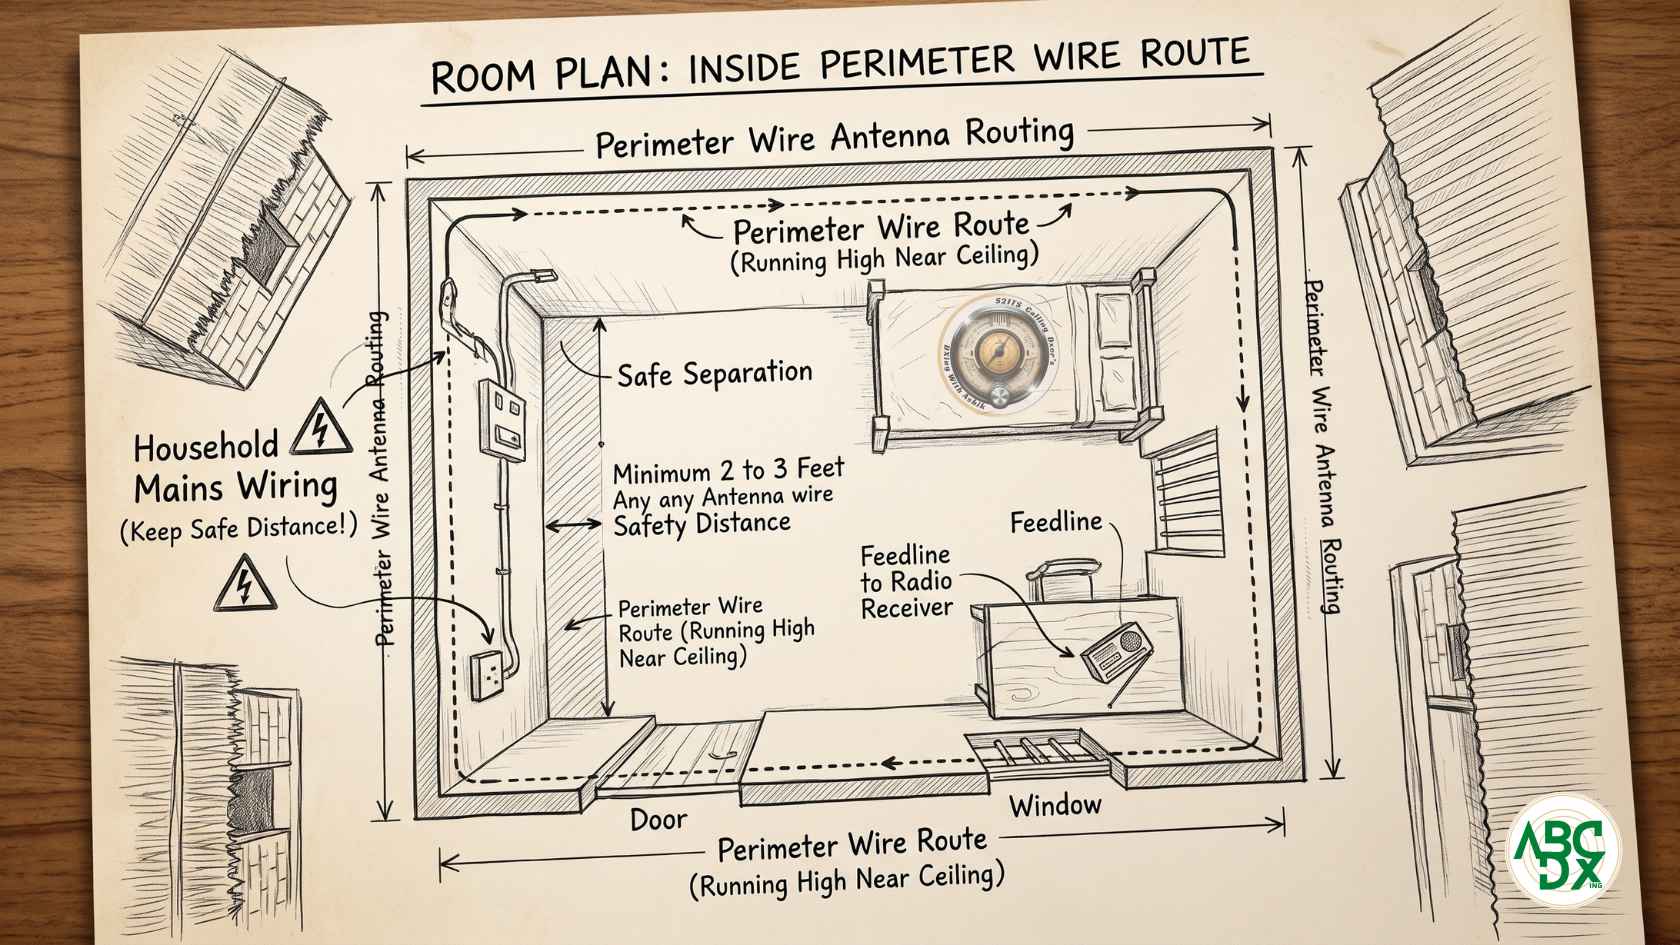
What it is. One long wire, run around the top of the walls of a room. It is still a single wire, fed at one end. The far end stays free.
Why use it? It gives you more length than a straight wire. It also keeps the wire up near the ceiling, away from your body.
Cautions. It can pass close to mains wiring in the walls and ceiling. This can raise the noise. Test it against a shorter wire before you decide.
Step by step
- Plan the route. Avoid light fittings, fans, switches and visible conduits.
- Fix clips every meter or so. Keep the wire a few centimeters from the wall.
- Run the wire around the room in one direction.
- Take the feed end to the radio by the shortest clean route.
- Cover the free end with tape.
- Compare the result with Design 1 and Design 2.
Design 4: The small indoor loop
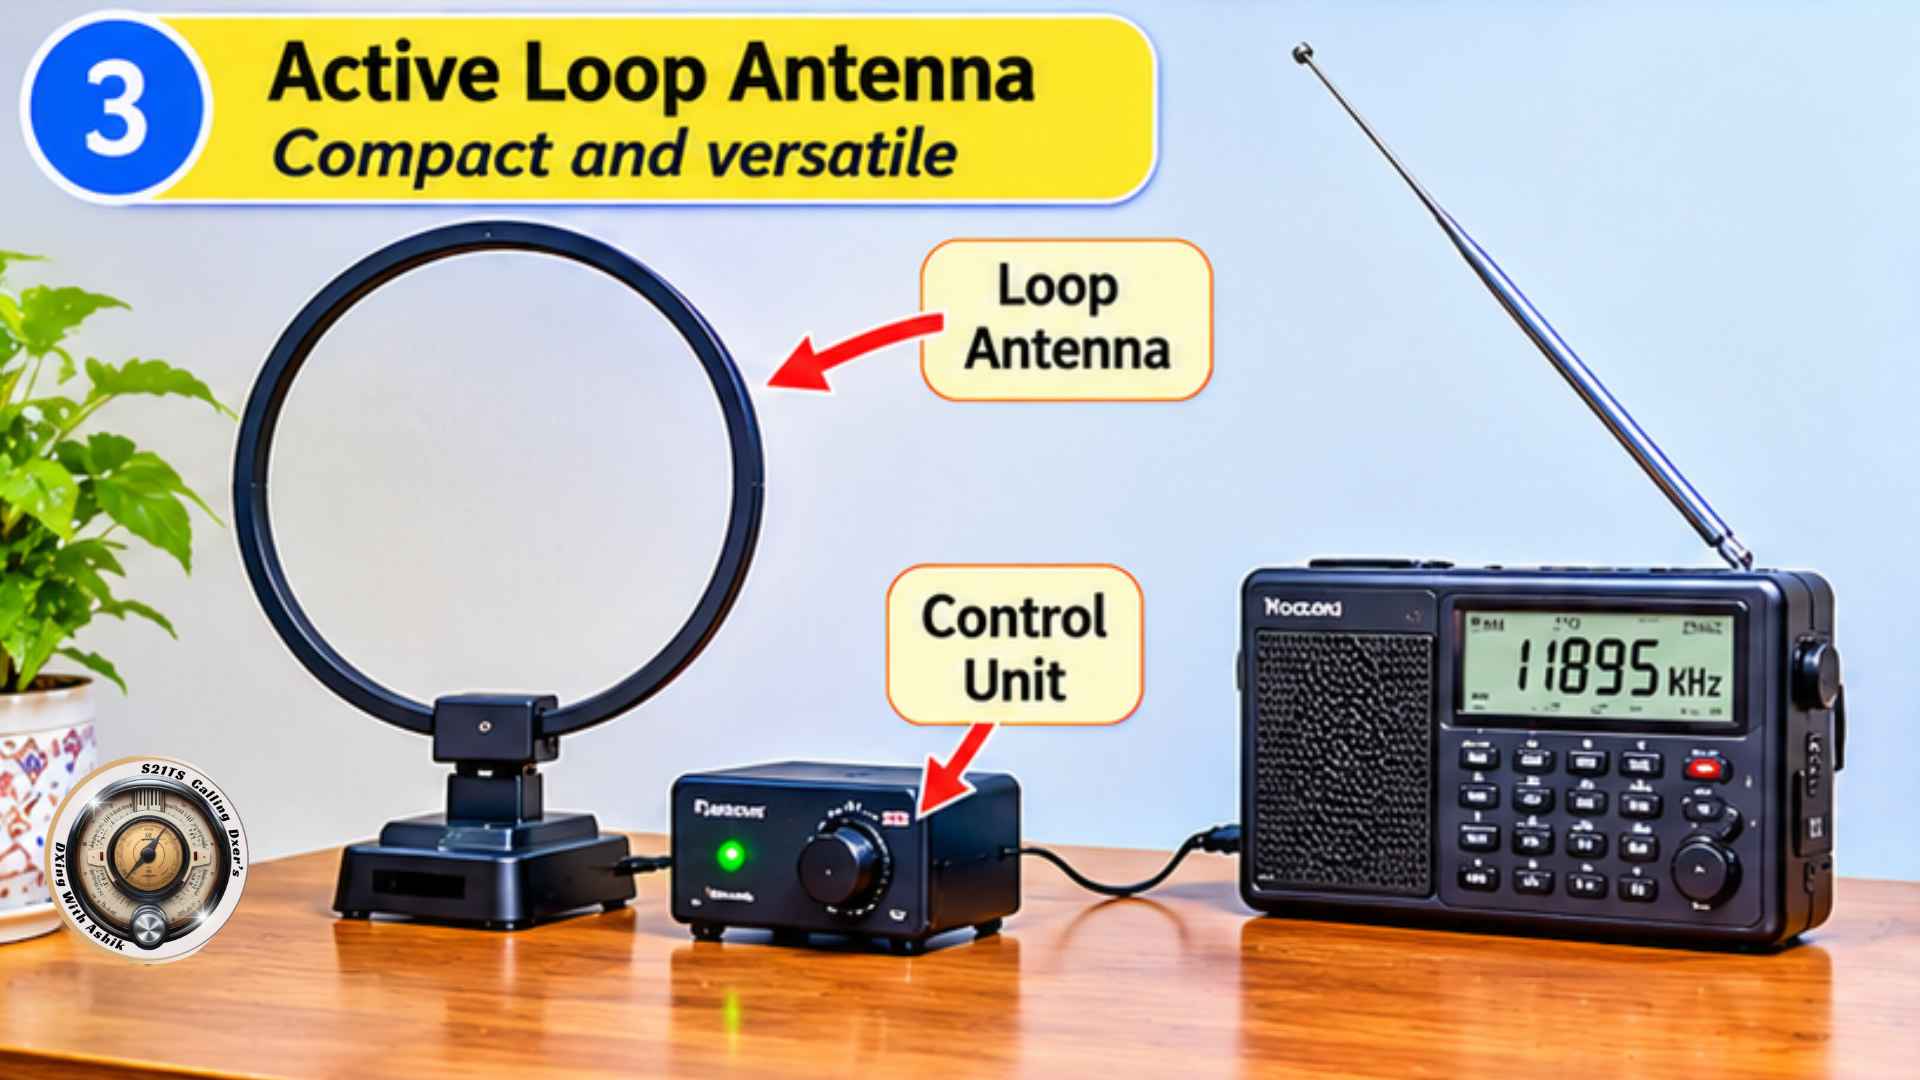
What it is. A one- or few-turn loop of wire or tube, tuned by a capacitor and coupled to the receiver through a smaller loop.
Why use it. A small loop is sensitive mostly to the magnetic part of the wave. Local electrical noise is often mainly electric. So a loop can reject much local noise. It also has deep nulls, as Article 1 explained. You can rotate the loop to cut a noise source or an unwanted station.
Cautions. A loop gives a lower signal level than a wire. It needs retuning as you change frequency. It must be built with care. Article 6 explains loop theory and active loops for medium wave. Article 7 covers wideband active loops.
Outline of construction
- Build a rigid frame from wood or plastic. Be sure to avoid metal in the frame.
- Wind the main loop in copper wire or tube.
- Connect a variable capacitor across the loop. The capacitor value depends on the band and loop size.
- Make a smaller coupling loop. It is often about one-fifth the diameter of the main loop. Please verify this against a reliable design.
- Connect the coupling loop to the receiver.
- Tune the capacitor for the strongest signal. Rotate the loop for the best signal-to-noise ratio.
Advantages and limitations of Shortwave indoor Antenna
| Design | Advantages | Limitations |
| Simple indoor wire | Cheap. Quick. No permission needed. | Noise pickup |
| Window antenna | Better signal path | Affected by grills and coated glass |
| Room perimeter wire | More length. High position. | May pass near wiring |
| Small indoor loop | Noise rejection and nulls | Lower signal. Needs tuning. |
Honest assessment: an indoor antenna rarely equals a good outdoor one. But a well-placed indoor wire can transform a portable radio.
Safety
- Never connect an antenna to mains wiring, sockets, gas pipes or water pipes.
- Do not use the mains wiring of your home as an antenna.
- Keep wires away from light fittings, heaters and fans. Remember fire safety.
- Do not hang wires across walkways or doorways. People can trip or be caught.
- Check for hidden cables before you drill or nail into walls.
- Disconnect the antenna from the receiver during thunderstorms, even if it is indoors.
- Use a stable ladder or step stool. Ask for a helper.
Troubleshooting
| Problem | Likely cause | What to try |
| Heavy buzz or hiss | LED lamps, chargers, inverter | Switch off devices one by one. Use batteries. |
| Very weak signals | Metal grills or concrete shielding | Try another window or room. |
| Noise rises when you touch the wire | Body pickup | Move the wire. Keep your hands off it. |
| Signals overload | Too much coupling | Use fewer turns on the whip. Use a shorter wire. |
| Loop is very weak | Poor tuning or coupling | Retune carefully. Check connections. |
| Noise changes in the evening | Neighboring devices | Retest at another time. Move the antenna. |
DXer's notes
- Try several windows. They can differ a great deal.
- Batteries make a clear difference with many portable radios.
- Record each change in your log. This shows what truly helped.
- Compare on the same frequency within a few minutes.
If you can put a wire outside, read Outdoor Receiving Antennas for Shortwave Listening and try it.
Conclusion
Indoor listening has real limits, but they are not final. Smart placement and noise control can bring surprising results. Start with a simple wire, test patiently and record what you learn. In Article 4, we study the accessories behind every antenna. Feedlines, baluns, UNUNs, chokes and grounding will make all your antennas work better.